
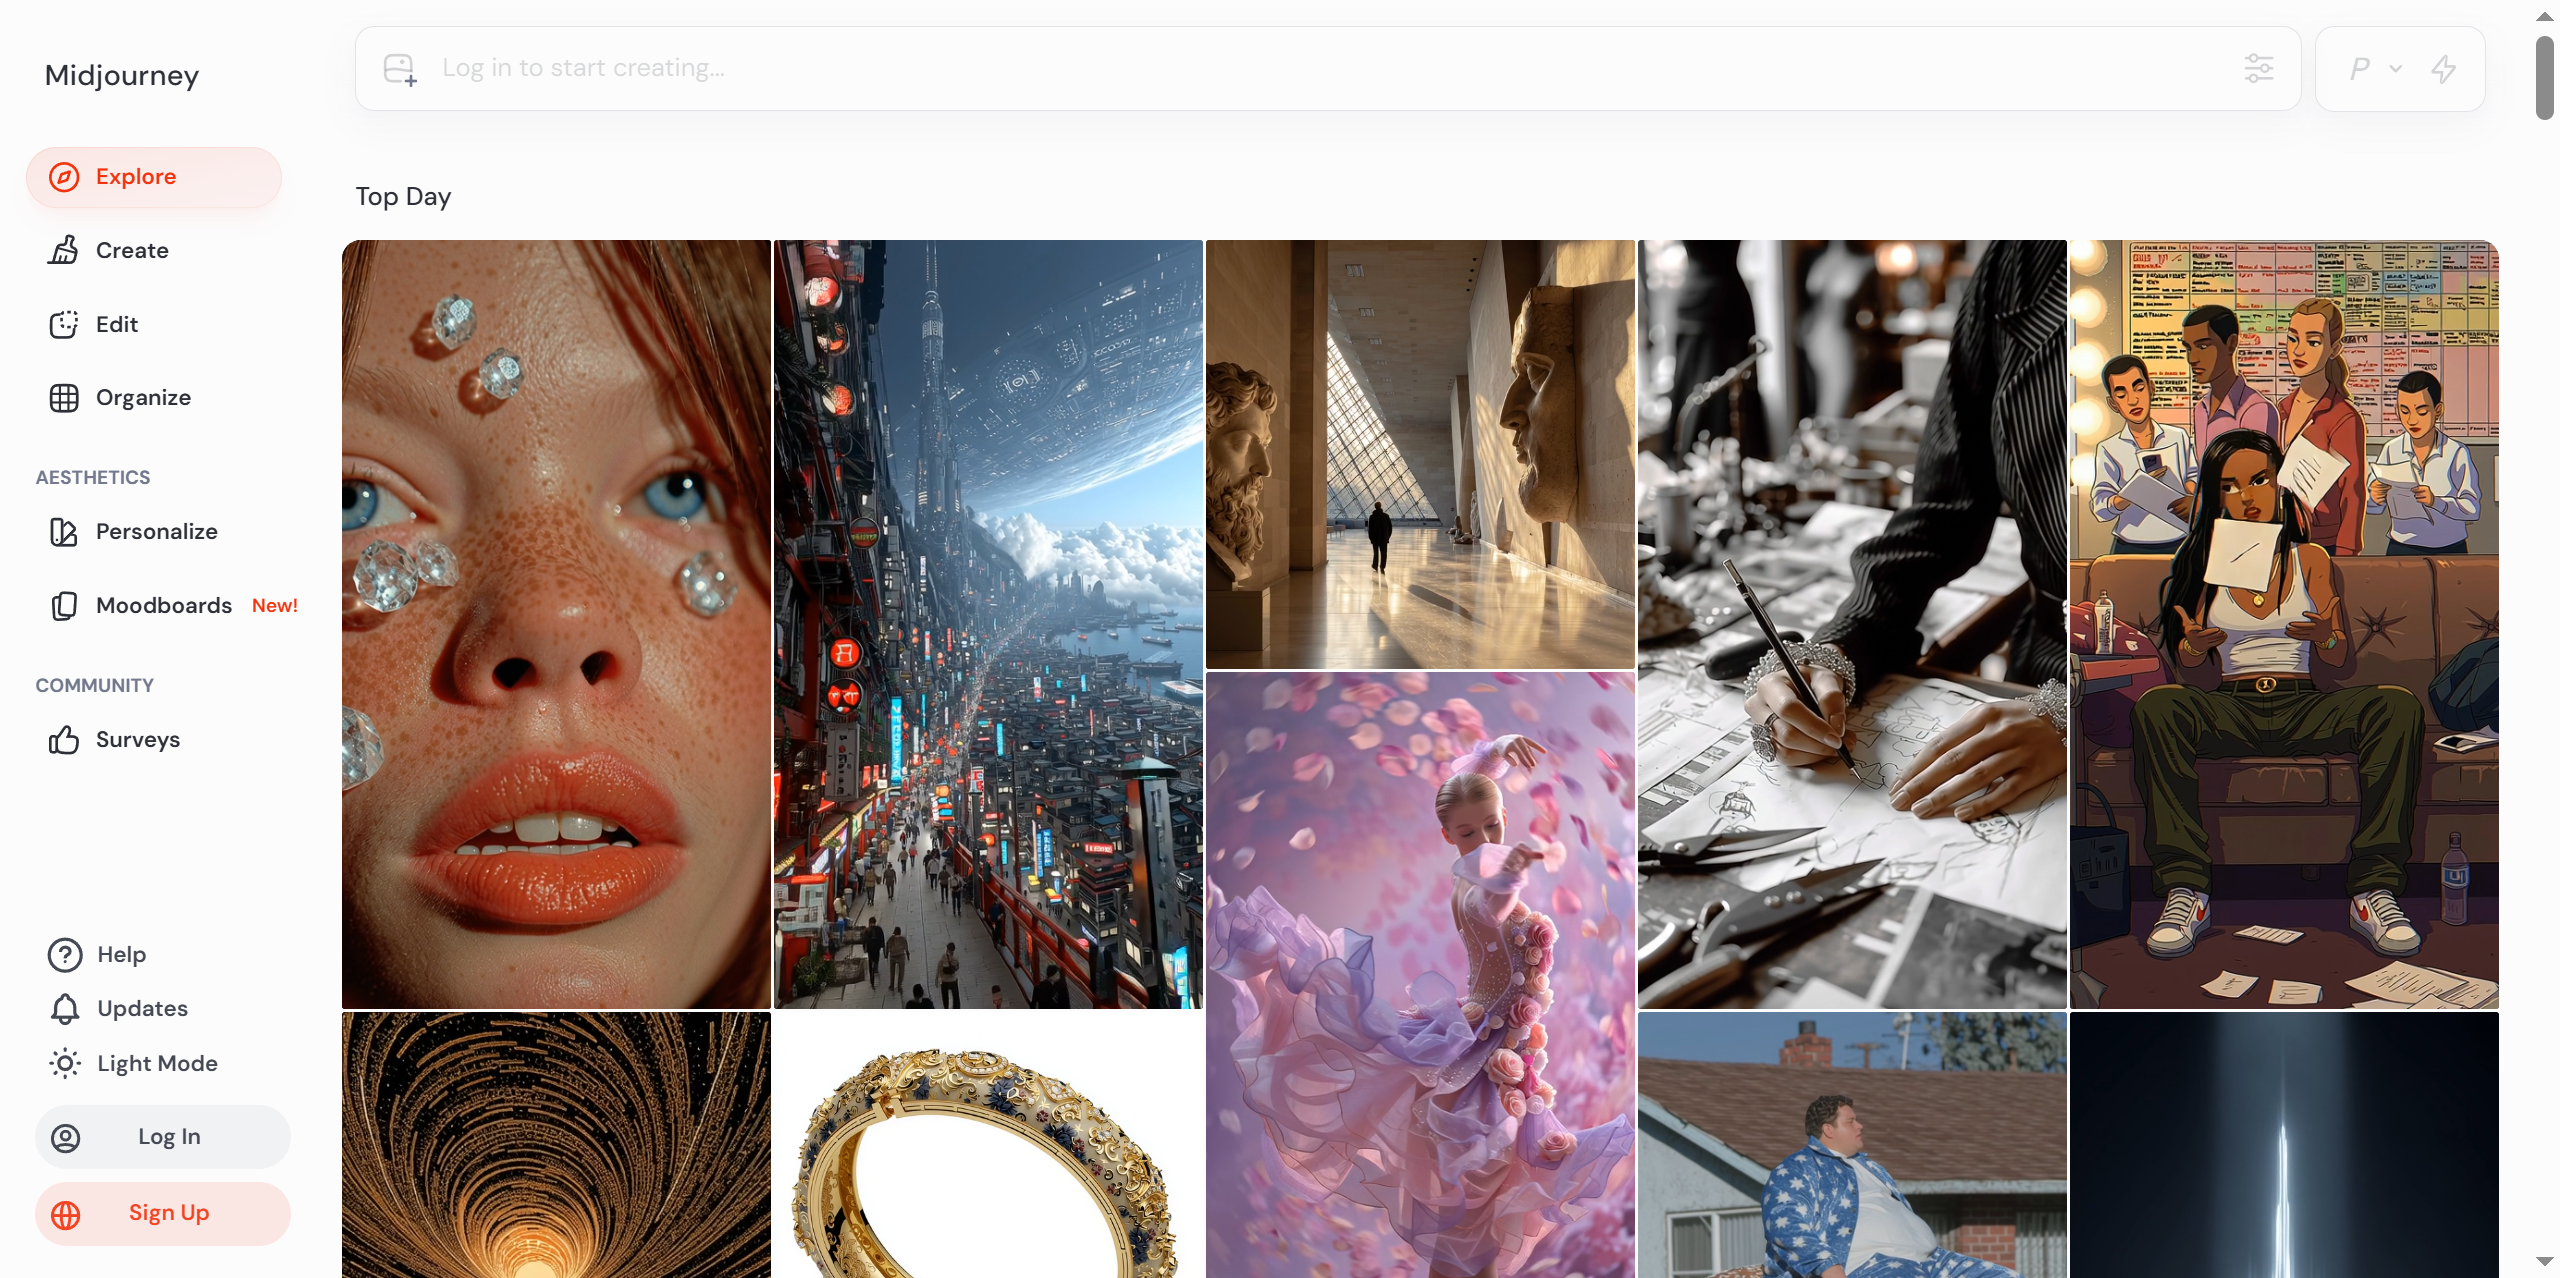
Mastering Midjourney Parameters: The Ultimate Cheat Sheet for Stunning AI Art
Have you ever stared at a blank Discord chat, typed a brilliant prompt for “a futuristic cyberpunk city,” and then felt your heart sink a little when the image popped up? It’s cool, sure, but it’s a square. And maybe it’s a bit too realistic, or perhaps not chaotic enough for your taste.
We’ve all been there. You have the vision in your head, but getting Midjourney to translate that exact vision onto the canvas can feel like trying to tune a radio while driving on a bumpy road.
That’s where the magic of parameters comes in.
Think of parameters as the dials and sliders on a professional soundboard. Your prompt provides the melody, but the parameters control the bass, treble, volume, and reverb. By mastering these simple commands, you can transform a generic image into a breathtaking masterpiece that fits your project perfectly—whether it’s a YouTube thumbnail, a website hero image, or a digital art print.
In this guide, we are going to combine the linguistic power of ChatGPT with the visual prowess of Midjourney to create a stunning, cinematic landscape. We will break down the most critical parameters step-by-step so you can stop guessing and start creating.
idjourney is a generative artificial intelligence program and service created and hosted by the San Francisco-based “independent research lab” Midjourney, Inc. Midjourney generates images from natural language descriptions, called prompts, similar to OpenAI’s DALL-E and Stability AI’s Stable Diffusion.
Preparation: Getting Your Tools Ready
Before we dive into the cheat sheet, let’s make sure our workspace is ready. You don’t need a supercomputer, just the right accounts.
- Discord Account: Midjourney lives inside Discord. If you haven’t already, sign up for Discord and join the Midjourney server.
- Midjourney Subscription: While you can trial it, a paid subscription (Basic, Standard, or Pro) gives you faster generation times and access to “Relax Mode,” which allows for unlimited generations. You can subscribe through their official bot.
- ChatGPT Account: We will use ChatGPT to help us brainstorm and structure our complex prompts. A free account works fine, but Plus users get access to GPT-4, which is slightly better at creative writing.
- Optional: Canva or Photoshop: We’ll use this for any final touch-ups, but it’s not strictly necessary for the core lesson.
Step-by-Step Tutorial: Building the Perfect Prompt
We are going to create a “Cinematic Wide Shot of an Ancient Library Floating in the Clouds.”
Step 1: Setting the Stage with Aspect Ratio (--ar)
The most common mistake beginners make is leaving the default aspect ratio (which is 1:1, a perfect square). While great for Instagram avatars, it’s terrible for cinematic landscapes or desktop wallpapers.
The Operation:
We need to tell Midjourney to make this image wide. The parameter for this is --ar followed by the width and height.
ChatGPT Prompt Strategy:
“Act as a professional prompt engineer. Write a descriptive prompt for ‘an ancient library floating in the clouds’ in a cinematic style. Do not include parameters yet.”
**Midjourney Prompt:`
/imagine prompt: [ChatGPT Output] –ar 16:9
Screenshot Description:
Imagine a grid of four images. They are all wide rectangles, resembling a movie screen rather than a postcard. The composition stretches horizontally, emphasizing the vastness of the clouds.
My Commentary:
Using --ar 16:9 is the first step to professional-looking images. It forces Midjourney to “think” horizontally, which is perfect for landscapes. If you were making a phone wallpaper, you would use --ar 9:16.
Step 2: Controlling Artistic Freedom with Stylize (--s)
Midjourney has its own “opinion” on how art should look. Sometimes, it adds too much color, too much detail, or makes things look overly artistic. The
--s (stylize) parameter controls how much artistic liberty the AI takes.- Range: 0 to 1000.
- Default: 100.
- Low Value (0-100): Strict adherence to your prompt, less “pretty.”
- High Value (500-1000): Very artistic, bold colors, might ignore some prompt details.
The Operation:
For a floating library, we want it to look magical and detailed, so we will push the stylize value up.
**Midjourney Prompt:`
/imagine prompt: [ChatGPT Output] –ar 16:9 –s 750
Screenshot Description:
The images now look much more vibrant. The lighting on the floating library is dramatic, with golden hour hues and wispy cloud effects that look painted rather than photographed.
My Commentary:
I chose --s 750 because we want a “fantasy” vibe. If I were designing a product prototype for a client, I would lower this to --s 50 or --s 100 to ensure the AI didn’t add unnecessary artistic flair that might distract from the product design.
Step 3: Ensuring Uniqueness with Chaos (--chaos)
Sometimes, Midjourney plays it too safe. The initial grid of four images might look too similar. The
--chaos parameter changes the variety of the initial grid.- Range: 0 to 100.
- Default: 0.
The Operation:
Let’s add some chaos to see drastically different compositions for our library.
**Midjourney Prompt:`
/imagine prompt: [ChatGPT Output] –ar 16:9 –s 750 –chaos 50
Screenshot Description:
The four images are now wildly different. One shows the library from a worm’s-eye view, another from a bird’s-eye view, and a third is zoomed in on a single floating tower. This gives you a much broader range of options to choose from.
My Commentary:
This is a huge time saver. Instead of generating four times to get different angles, --chaos forces Midjourney to explore different compositional seeds in one go.
Key Techniques & Pitfall Guide
Now that you have the basics, here are some pro-tips to fine-tune your workflow.
The “Negative Prompt” Trick (--no)
Sometimes, Midjourney gets stubborn and includes things you hate.
Example: You want a daytime scene, but it keeps adding shadows or fog.Fix: Add
--no fog, dark, shadowsto the end of your prompt.Why: This tells the AI exactly what to exclude from the generation process.
Weights for Emphasis (::)
You can tell Midjourney which words are more important by assigning a weight.
Example:A hot dog and a bun::2Why: The
::2means the AI should pay twice as much attention to the “bun” as the “hot dog.” If your main subject is getting lost in the background, this is your fix.
Common Pitfalls to Avoid
- Over-stacking Parameters: Don’t use
--s 1000,--chaos 100, and--weird 500all at once. The image will often become a messy, unrecognizable abstract blob. Start with one or two parameters and adjust. - Ignoring Version Updates (
--v): Midjourney updates frequently. Currently, Version 6 (--v 6.0) is the standard for photorealism. If you want a specific anime look, you might use--niji 6. Always check the latest documentation to see what model you are using. - Forgetting the Aspect Ratio: As mentioned, leaving the default 1:1 is the hallmark of a beginner. Always set your
arfirst.
Results & Advanced Exploration
By combining ChatGPT’s descriptive power with the parameters
--ar 16:9, --s 750, and --chaos 50, we’ve moved from a simple square sketch to a wide, dramatic, and varied set of cinematic concepts.Here is the final polished result I selected using these settings:
Where to Go From Here?
Now that you have the cheat sheet basics, try experimenting with these advanced parameters:
--tile: Generates seamless patterns perfect for website backgrounds or fabric printing.--q(Quality): Controls the rendering time.--q 2takes longer but adds more details. Use this for your final “upscale” step.--cref(Character Reference): Allows you to upload an image of a person and use their face consistently across different generations.
Interaction & Further Reading
AI art is a journey, not a destination. The best way to learn is to experiment.
Question for you: What is the one specific style or subject you’ve been struggling to generate in Midjourney? Let me know in the comments, and let’s troubleshoot it together!
If you found this guide helpful, you might enjoy these other articles on the site:
Tutorials# AI Art Tutorial# AI Design Guide# ChatGPT and Midjourney# Midjourney Cheat Sheet# Midjourney Parameters# Midjourney Tips# prompt engineering
© Copyright notes
The copyright of the article belongs to the author, please do not reprint without permission.
Related posts


No comments...