
Mastering AI Design: Create Stunning Event Posters with ChatGPT & Midjourney
Have you ever stared at a blank canvas in Canva or Photoshop, feeling completely stuck? You have a vague idea for a summer party poster, but the creative spark just isn’t there. You spend hours scrolling through stock photos, only to find images that look cheesy or outdated. We’ve all been there. The frustration of wanting professional-grade design without the budget (or the skills) is a real pain point.
But what if you could generate a breathtaking, unique event poster in less than 30 minutes? No design degree required. Just a clear conversation with your AI assistant.
In this guide, I will walk you through a seamless workflow where ChatGPT acts as your Creative Director and Copywriter, while Midjourney serves as your Lead Illustrator. By the end of this tutorial, you will not only have a ready-to-print poster but also the confidence to combine these tools for any creative project.
1. Preparation: Setting Up Your Toolkit
Before we dive into the creative process, let’s ensure we have everything we need. This workflow relies on the synergy between text and image generation.
- ChatGPT (Plus or GPT-4 recommended): While the free version works, GPT-4 offers superior reasoning and creativity, which is crucial for high-quality prompt engineering.
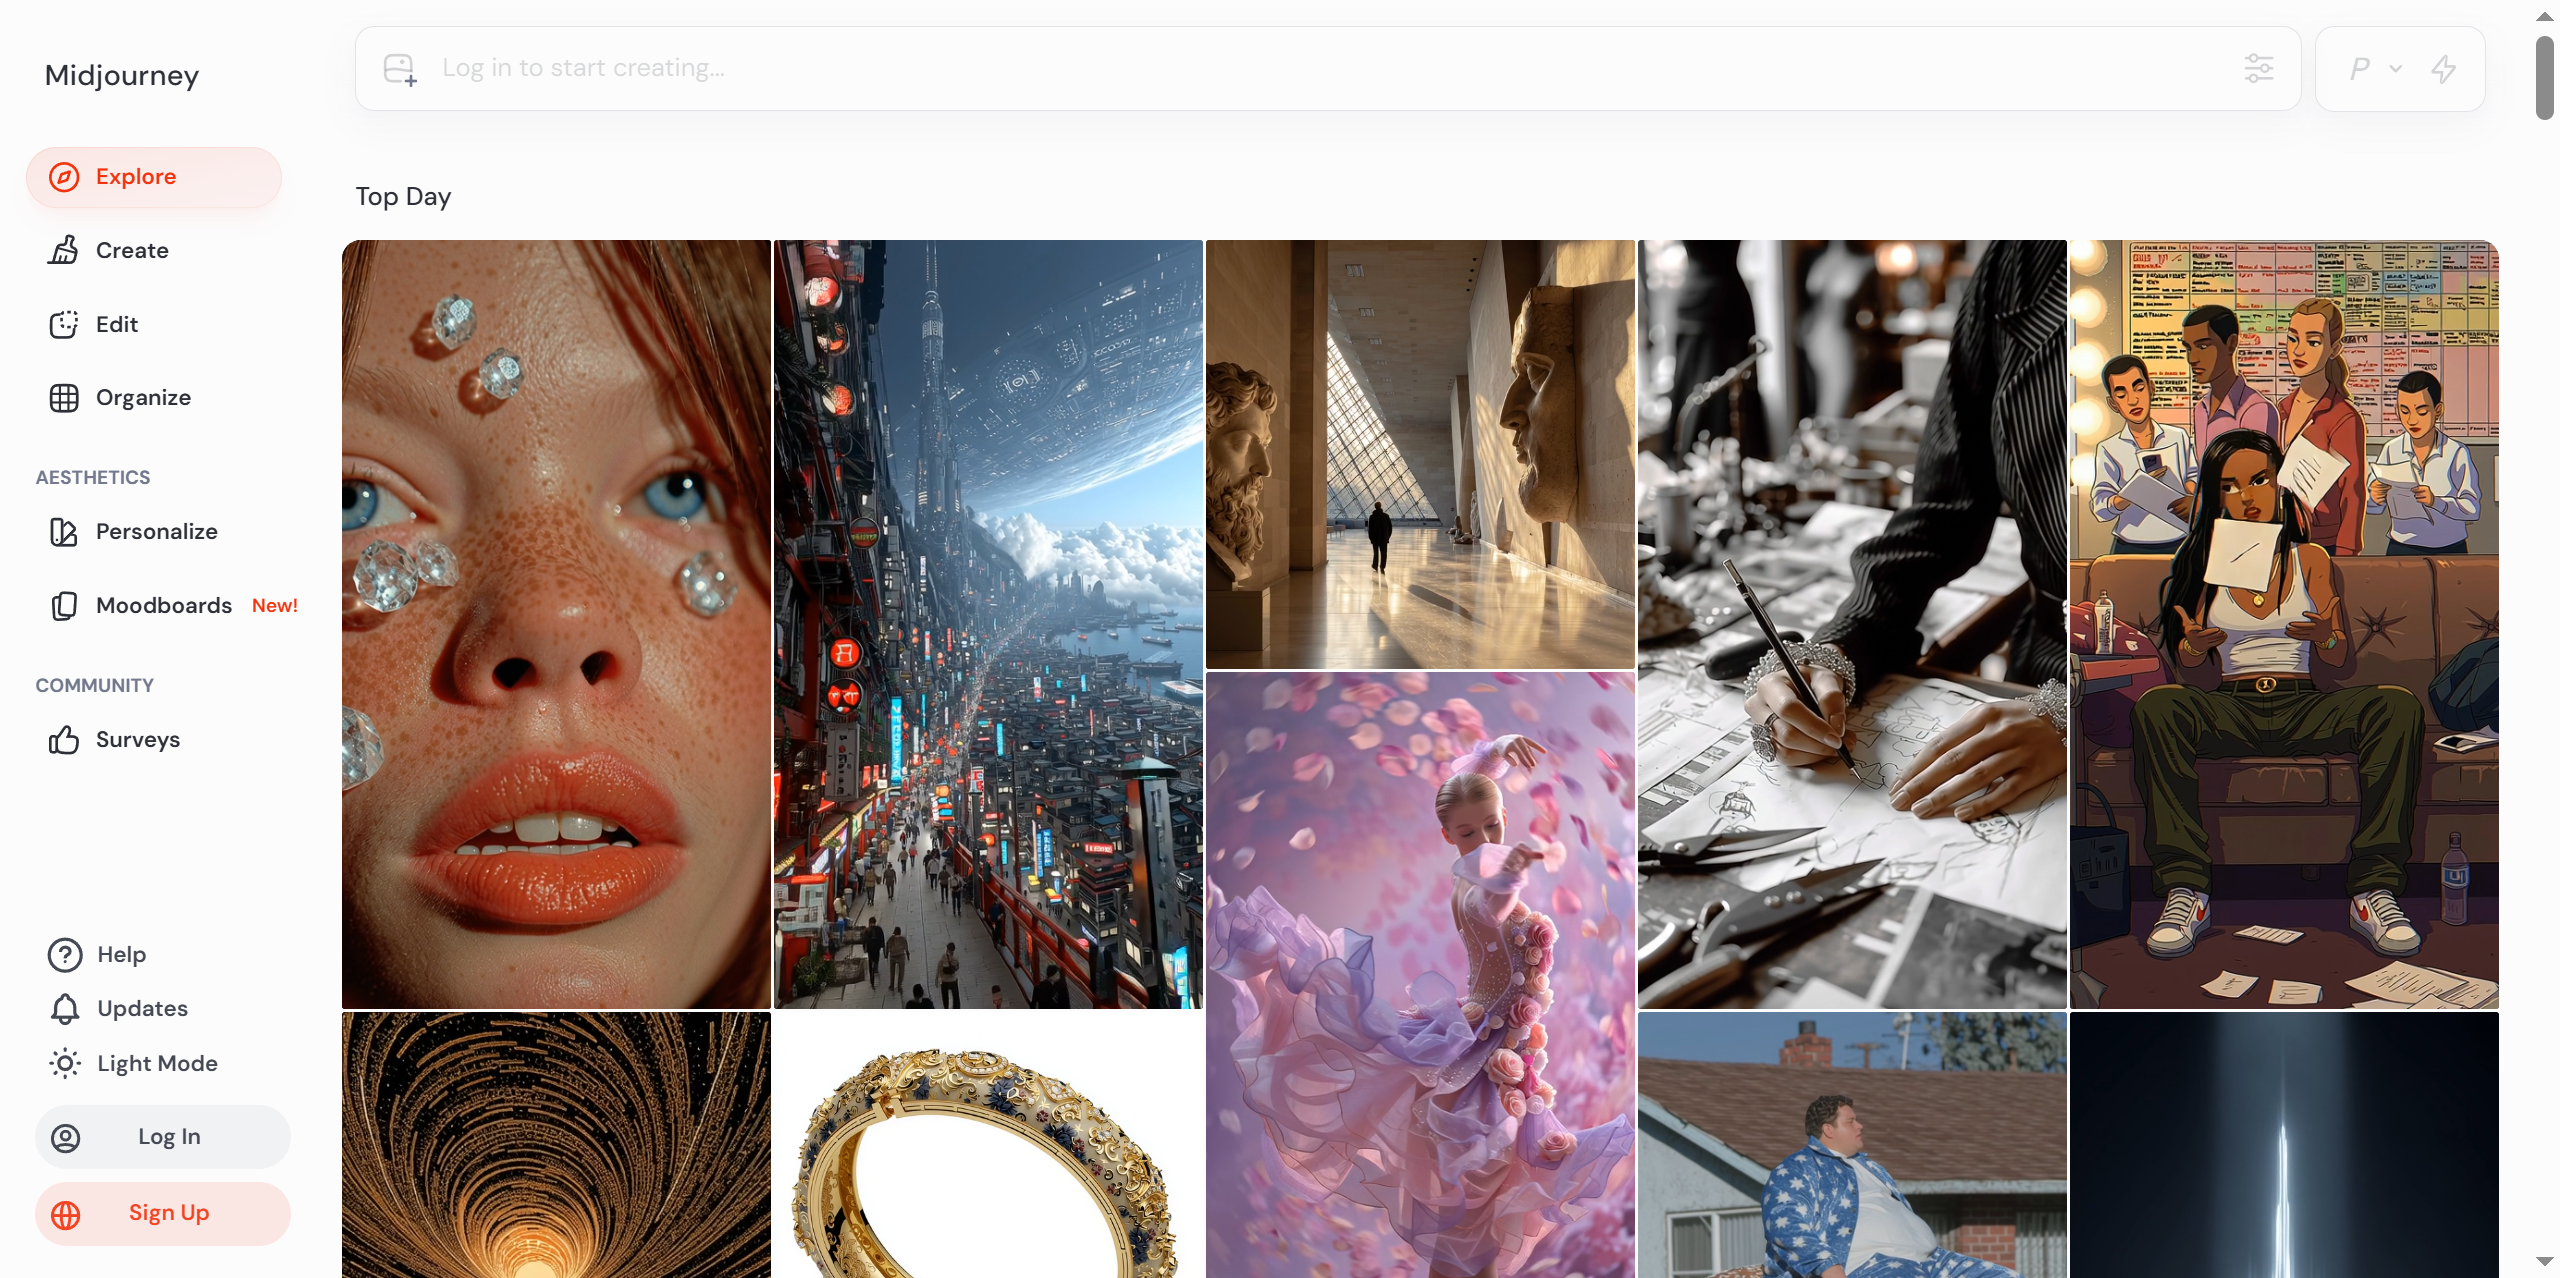
- Midjourney: This operates via Discord. You will need a Discord account and a Midjourney subscription (Basic plan is fine to start).
- Canva (Free or Pro): We will use this for the final layout. It’s user-friendly and perfect for assembling text and images.
- A Clear Goal: For this tutorial, we will be creating a “Neon Jazz Night” event poster.
Expert Note: Make sure you are logged into all these platforms before starting to minimize friction during the workflow.
2. Step-by-Step Tutorial: From Concept to Composition
We will break this down into three distinct phases: Ideation, Visualization, and Assembly.
Step 1: The Strategy & Copy (ChatGPT)
First, we need a solid concept. We shouldn’t just type “make a poster” into an AI. We need a theme, a color palette, and catchy copy.
Operation:
Open ChatGPT. We will use a specific role-playing prompt to get the best results.
Prompt Example:
Act as a Senior Creative Director and Marketing Expert. I am organizing a "Neon Jazz Night" event at a downtown rooftop bar. The vibe is sophisticated, modern, yet retro-80s synthwave.

Please provide:
1. Three catchy title options for the poster.
2. A short, compelling sub-heading (2 sentences).
3. A detailed visual description for an AI image generator (Midjourney). Focus on lighting, mood, color palette (neon pinks, cyans, deep purples), and composition. Do not include text in the image description.
What happens next:
ChatGPT will generate a list of titles and a very descriptive paragraph. Copy the “visual description” it provides—you will need this for the next step.
My Commentary:
Why ask for the visual description separately? Midjourney understands visual language (textures, lighting, camera angles) better than abstract concepts like “sophisticated.” By letting ChatGPT translate “sophisticated” into “soft volumetric lighting and cinematic depth,” we bridge the gap between text and image models effectively.
Step 2: Bringing the Vision to Life (Midjourney)
Now, let’s paint the picture.
Operation:
Go to your Discord server where Midjourney is installed. Type /imagine and paste the visual description you got from ChatGPT. We will add specific parameters to control the aspect ratio and style.
Prompt Example:
/imagine prompt: A silhouette of a jazz saxophone player against a backdrop of a futuristic city skyline with neon signs, volumetric fog, cinematic lighting, synthwave aesthetic, vibrant neon pink and cyan color palette, highly detailed, photorealistic, 8k --ar 3:4 --v 6.0 --style raw
Screenshot Description:
Imagine a grid of four images appearing. Each shows a moody, neon-lit cityscape with a saxophonist. The colors are deep purples and electric blues. The aspect ratio is vertical (portrait), perfect for a poster.
My Commentary:
--ar 3:4: This sets the aspect ratio to 3:4, a standard poster size. If you forget this, you’ll get a square image that won’t fit your layout.--v 6.0: This ensures we are using the latest version of Midjourney, which has the best photorealism and text adherence (though we aren’t asking for text inside the image).--style raw: This reduces Midjourney’s default “artistic” embellishment, giving you a more literal interpretation of your prompt, which looks more like a photograph.
Select your favorite image (usually U1, U2, U3, or U4) and click “Upscale” to get the high-resolution version. Save this image to your computer.

Step 3: The Final Assembly (Canva)
We have the image and the text. Now we put them together.
Operation:
- Open Canva and create a design with custom dimensions (e.g., 1200 x 1600 px for a 3:4 ratio).
- Upload your Midjourney image and set it as the background.
- Create a text box for the Title (choose one from ChatGPT’s suggestions). Use a bold, modern font (e.g., Montserrat or Bebas Neue) in white or neon yellow.
- Add the sub-heading in a smaller, lighter font.
- Add a “Date & Time” and “Location” footer at the bottom.
My Commentary:
Don’t overcrowd the design. The power of AI-generated images is in their detail. Let the Midjourney art breathe by using ample negative space (empty areas) for your text. Add a slight semi-transparent black overlay behind the text if it’s hard to read against the busy background.
3. Key Techniques & Pitfalls to Avoid
As an AI expert, I’ve seen these tools misused many times. Here is how to stay ahead of the curve.
Pro Tips for Success
- Iterative Prompting: If the first image isn’t perfect, don’t give up. Use the
V(vary) buttons in Midjourney to get variations of a specific image you like, or refine your prompt in ChatGPT to be more specific about lighting. - Seed Values: If you generate an image you love but want to change the color slightly, copy the “Job ID” or use the
--seedparameter. This keeps the composition consistent while changing other variables.
Common Mistakes (And How to Fix Them)
- Mistake 1: Asking Midjourney to write text.
- The Issue: Even with V6, Midjourney struggles with accurate spelling. It might spell “Jazz” as “Jazx”.
- The Fix: Always generate the image without text, and add the typography using Canva or Photoshop.
- Mistake 2: Vague Prompts.
- The Issue: Prompting “A cool poster” results in generic, boring art.
- The Fix: Use descriptive adjectives. Instead of “cool,” use “cyberpunk,” “noir,” “vibrant,” or “minimalist.”
- Mistake 3: Ignoring Copyright.
- The Issue: Using specific celebrity names or trademarked logos.
- The Fix: Midjourney blocks some of this, but generally, avoid asking for specific real people or brands to keep your content original and safe.
Remember: AI is a collaborator, not a replacement for your eye for design. You are the Art Director; the AI is just executing your orders.
4. Showcasing the Result & Next Steps
After following these steps, you should now have a high-resolution, atmospheric poster for “Neon Jazz Night” that looks like it was designed by a top-tier agency.
The Final Effect:
A vertical poster featuring a moody, neon-soaked cityscape. In the foreground, the silhouette of a saxophone player leans against a railing. Bold, modern typography reads “NEON JAZZ NIGHT” at the top, with event details cleanly positioned at the bottom. The color palette is cohesive, using deep violets and electric cyans.
Advanced Exploration
Ready to take it to the next level?
- Consistent Characters: If you are doing a series of posters, learn how to use
Character Reference(--cref) in Midjourney to keep the same character across different images. - Image Prompts: Instead of text prompts, try uploading an image to Midjourney as a reference (using
/blend) to match the exact style or color scheme of a photo you like.
5. Interaction & Further Reading
Mastering the combination of ChatGPT and Midjourney opens up a world of possibilities, from social media content to storyboarding for videos.
I’d love to hear from you:
What is the next project you are planning to use these AI tools for? Is it a book cover, a menu, or perhaps a logo? Let me know in the comments below!
Tutorials# AI art workflow# AI design tutorial# Canva AI integration# ChatGPT for marketing# event poster design# graphic design automation# Midjourney Guide# prompt engineering
© Copyright notes
The copyright of the article belongs to the author, please do not reprint without permission.
Related posts


No comments...