Top 10 AI Tools for Graphic Designers: The Ultimate Workflow for Creating Stunning Event Posters
Have you ever stared at a blank canvas in Photoshop or Canva, the cursor blinking mockingly as the deadline clock ticks louder and louder? You need a stunning event poster by tomorrow morning, but your creative well has run dry. You’re not alone. Every graphic designer, from beginners to seasoned pros, faces the “blank page syndrome.”
But what if you could go from a vague idea to a polished, professional-grade poster in under an hour? This isn’t science fiction; it’s the new reality of design.
In the rapidly evolving landscape of digital art, AI tools are not just assistants—they are force multipliers. While there are many contenders in the market, today we are going to focus on the “Holy Trinity” of design workflow: ChatGPT, Midjourney, and Canva. By combining these tools, you will unlock a workflow that handles brainstorming, visual generation, and layout composition with unprecedented speed.
In this guide, I will walk you through creating a “Cyberpunk Summer Music Festival” poster from scratch. Let’s dive in and turn that blank page into a masterpiece.

Preparation: Getting Your Tools Ready
Before we start the engine, we need to make sure we have fuel. While there are hundreds of AI tools available—like Adobe Firefly, DALL-E 3, and Stable Diffusion—we are choosing this specific combination because they offer the best balance of quality, ease of use, and integration for beginners.
Here is what you need to prepare:
- ChatGPT (Plus version recommended)
- Purpose: Your creative director and copywriter.
- Requirement: Create an account at chat.openai.com. The GPT-4 model produces significantly better creative writing than the free version.
- Midjourney
- Purpose: Your high-end illustrator.
- Requirement: You will need a Discord account and a Midjourney subscription. Join the Midjourney Discord and subscribe to a plan (Basic is fine to start).
- Canva
- Purpose: Your layout studio.
- Requirement: A free account is sufficient, but Pro gives you better assets. Sign up at canva.com.
Expert Insight: Why these three? ChatGPT excels at logic and text, Midjourney is currently the king of aesthetic image quality, and Canva is the most user-friendly tool for putting it all together without a steep learning curve.
Step-by-Step Tutorial: From Concept to Poster
We will break this process down into three manageable phases: Ideation, Visualization, and Composition.
Step 1: Brainstorming and Copywriting with ChatGPT
The hardest part of design is often deciding what to design. We will use ChatGPT to act as our Art Director.
The Operation:
Instead of asking for a generic idea, we assign ChatGPT a specific persona to get high-quality, targeted results.
Prompt Example:
Act as a senior creative director for a music festival. I need to create a poster for a "Neon Nights Summer Music Festival."
1. Suggest 3 distinct visual themes (e.g., Cyberpunk, Tropical Vaporwave, Retro-Futurism).
2. For the "Cyberpunk" theme, write a catchy headline, sub-headline, and a short call-to-action.
3. Describe the main visual element in detail for an image generator.
Screenshot Description:
n misses.

Imagine the ChatGPT interface displaying a structured response. It lists three themes with bullet points. Under “Cyberpunk,” it suggests the headline: “Neon Nights: Pulse of the Future” and a visual description of a futuristic DJ stage with laser beams and a crowd silhouetted against neon lights.
My Commentary:
Using a “Role Prompt” (Act as…) is crucial. It stops the AI from giving you generic, boring answers. By asking for the visual description in Step 1, we are prepping the data for our next tool. This saves you time translating ideas in your own head.
Step 2: Generating the Visual with Midjourney
Now we take the visual description from ChatGPT and feed it to Midjourney. This is where the magic happens.
The Operation:
Open your Discord, find a Midjourney bot channel, and use the /imagine command. We will refine the prompt ChatGPT gave us by adding parameters for aspect ratio and style.
Prompt Example:
/imagine prompt: A futuristic DJ stage at a summer music festival, massive laser beams cutting through smoke, a silhouetted energetic crowd in the foreground, neon blue and magenta lighting, cyberpunk aesthetic, highly detailed, photorealistic, 8k resolution --ar 2:3 --v 6.0 --stylize 250
Breakdown of Parameters:
--ar 2:3: Sets the aspect ratio to a standard poster portrait size.--v 6.0: Uses the latest version of Midjourney (Version 6) for better photorealism.--stylize 250: Adds a bit of artistic flair.
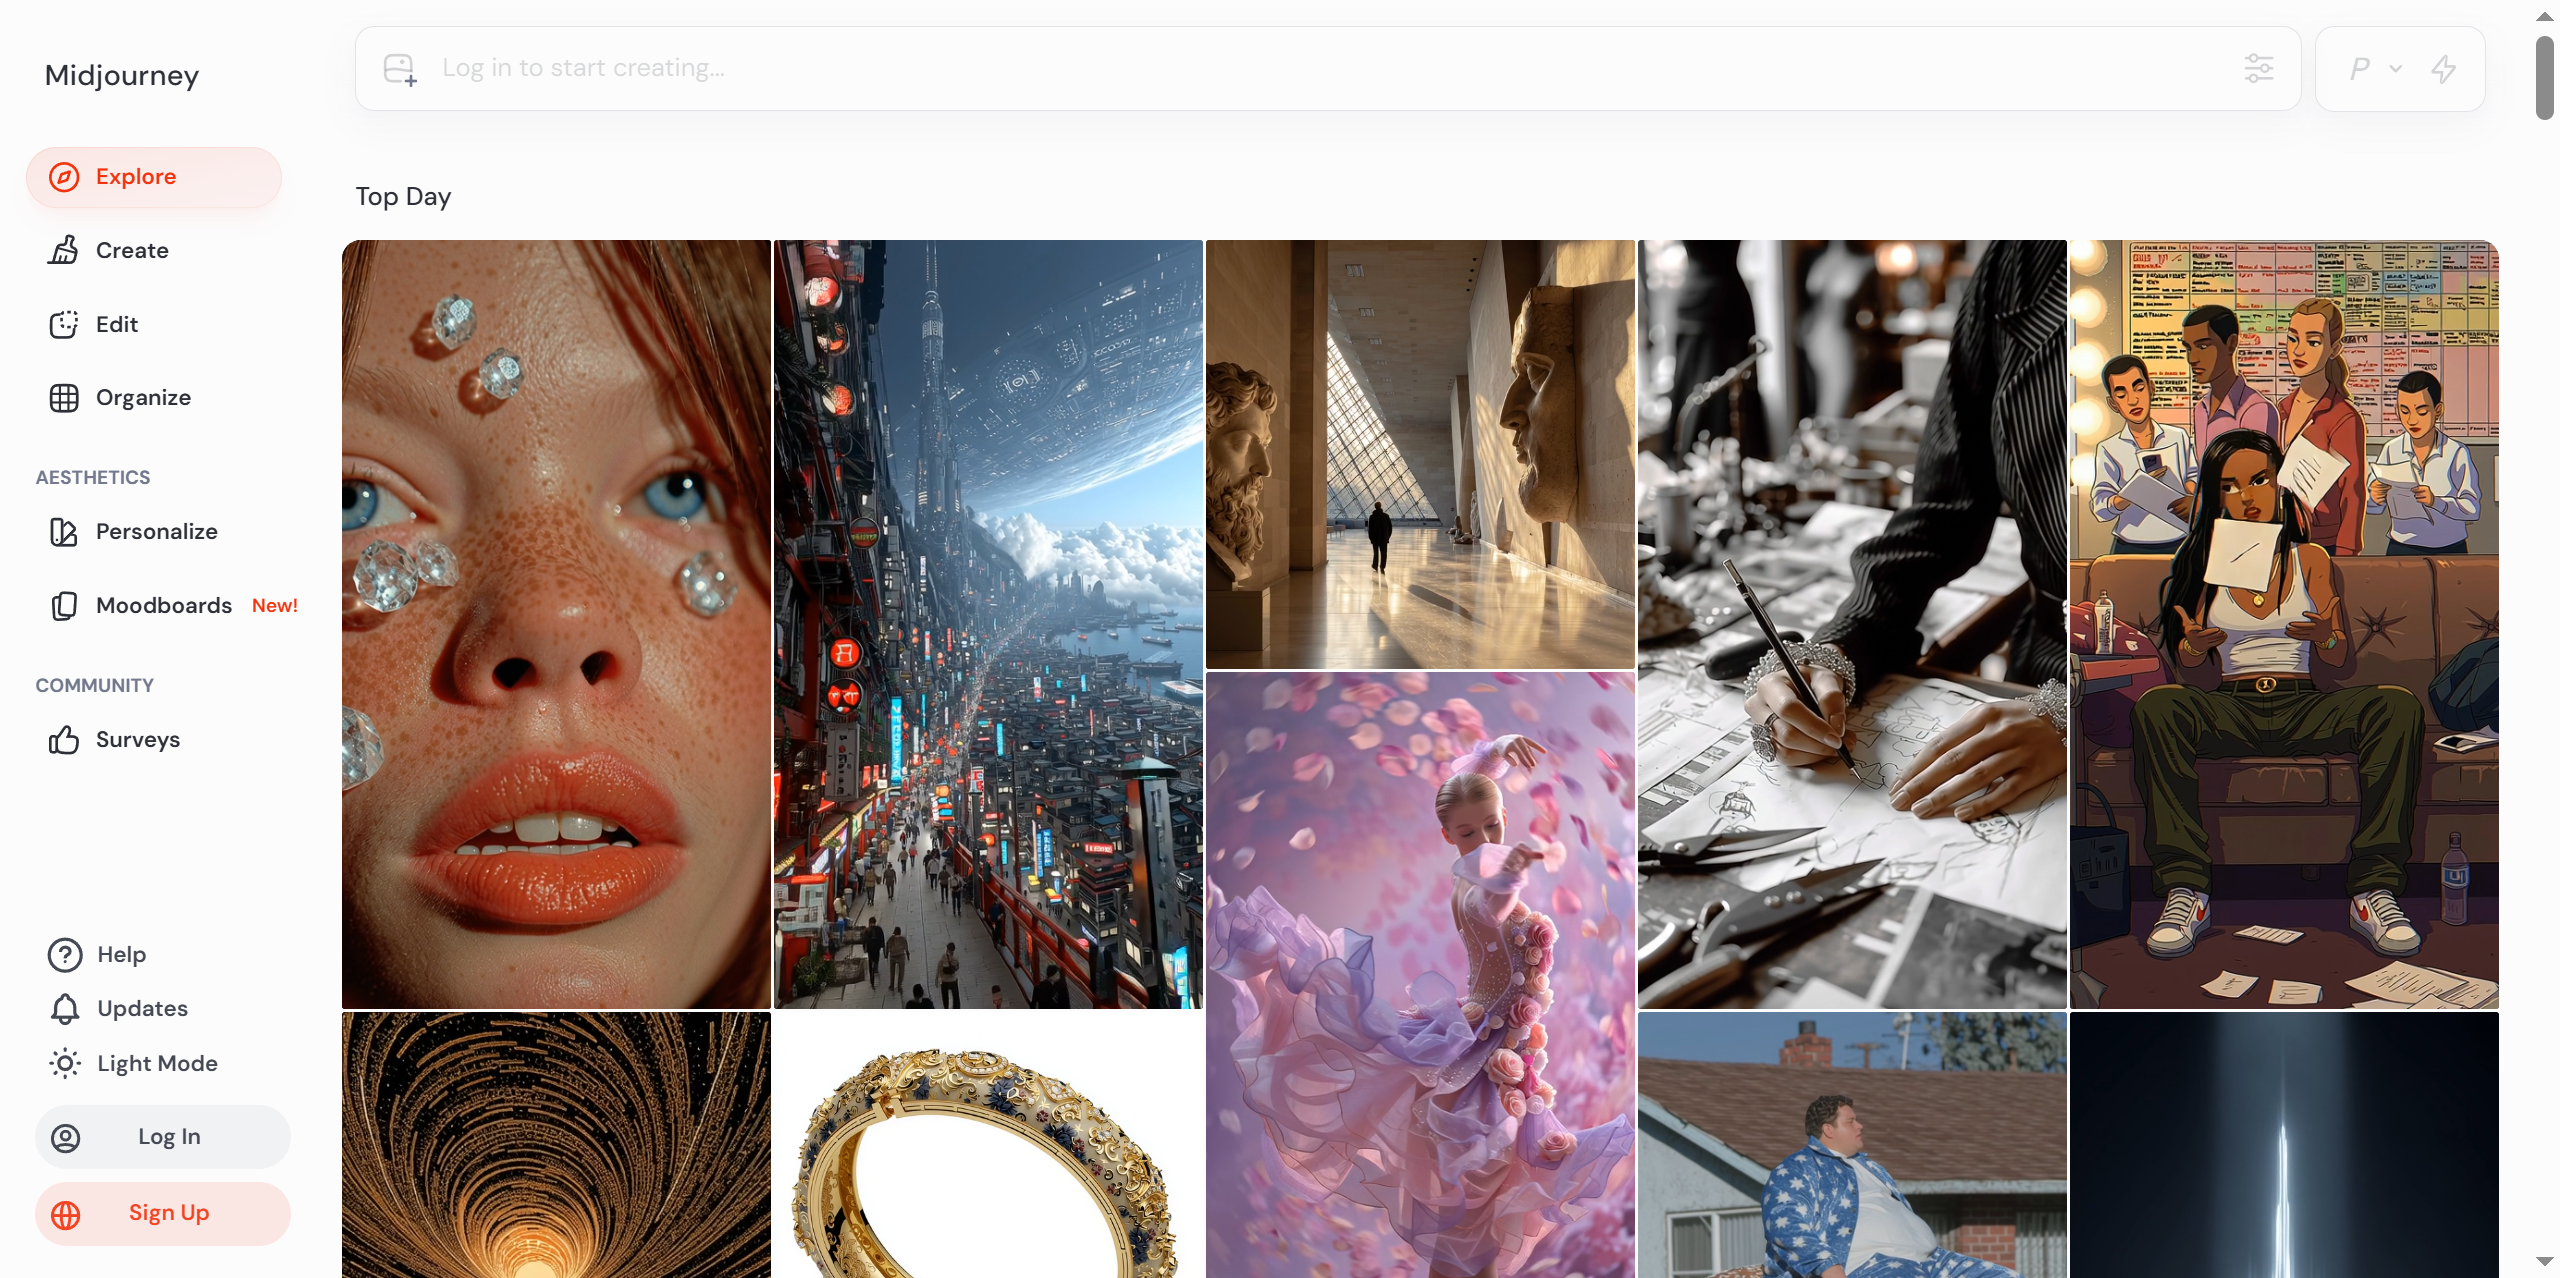
Screenshot Description:
The Midjourney grid appears, showing 4 different variations of the cyberpunk stage. They are dramatic, high-contrast, and visually stunning. Below the grid, there are buttons U1-U4 (Upscale) and V1-V4 (Variations).
My Commentary:
Midjourney Version 6 is much more responsive to natural language than previous versions. Don’t be afraid to be descriptive! If the text on the poster (if any) looks garbled, ignore it for now—we will add real text in Canva. AI image generators still struggle with specific spelling.
Step 3: Composition and Layout in Canva
We have our text (from Step 1) and our image (from Step 2). Now we assemble them.
The Operation:
- Open Canva and create a design with “Custom Dimensions” (e.g., 600px x 900px for a digital poster).
- Upload your upscaled Midjourney image.
- Set the image as the background.
- Create text boxes for the Headline and Sub-headline provided by ChatGPT.
- Use fonts that match the “Cyberpunk” theme (e.g., bold, sans-serif, or glitch fonts).
Screenshot Description:
The Canva workspace shows the poster taking shape. The cyberpunk image is in the background. Large, bold white text reading “NEON NIGHTS” is overlayed on top. A “Buy Tickets” button is positioned at the bottom. The user is using the transparency tool to ensure the text pops against the busy background.
My Commentary:
Pro Tip: If your background is too busy and the text is hard to read, add a “Gradient” or a “Shape” (like a black rectangle with 40% transparency) behind your text area in Canva. This ensures readability while keeping the cool background visible.
Key Techniques and Pitfall Guide
After years of experimenting with these tools, I’ve learned that the workflow isn’t always smooth. Here are my top tips to avoid common headaches.
1. The “Garbage In, Garbage Out” Rule
AI tools are only as good as your instructions. If you ask Midjourney for “a cool party,” you will get mediocre results. If you ask for “a rooftop pool party in Miami at sunset, golden hour lighting, cinematic lighting,” you get gold. Be specific.
2. Handling Text in Images
Common Error: Trying to get Midjourney to generate the perfect headline “Summer Festival 2024” directly on the image.
Solution: Don’t do it. It will almost certainly misspell “Festival” as “Fesitval.” Generate the background art in Midjourney and use Canva or Photoshop for the typography. It gives you more control over kerning and font choice anyway.
3. Aspect Ratio Mismatches
Common Error: Generating a square image in Midjourney and then trying to force it into a tall poster canvas in Canva. This stretches the image and ruins the quality.
Solution: Always decide your canvas size first. If you are making a poster, use --ar 2:3 in Midjourney. If it’s for Instagram Story, use --ar 9:16.
4. Copyright Caution
While AI art is a new legal frontier, be cautious about using images that look like specific celebrities or trademarked characters for commercial work. Stick to generic “styles” and “themes” to stay safe.
Results and Next Steps
By following this workflow, you haven’t just made a poster; you have acted as the Creative Director of a project, leveraging AI to execute the heavy lifting.
The Final Effect:
A high-resolution, atmospheric cyberpunk poster that looks like it cost hundreds of dollars to commission, but took you less than an hour to create. The text is crisp, the imagery is cohesive, and the message is clear.
Where to go from here?
Once you are comfortable with this basic workflow, try leveling up:
- Remove Backgrounds: Use Canva Pro or Photoshop to remove the background of a Midjourney character and place them in a different setting.
- Generative Fill: If you use Adobe Photoshop (Beta), try the “Generative Fill” feature. You can take your Midjourney image and simply type “add a flying drone” into a specific area, and it will blend it perfectly.
Interaction and Further Reading
AI is transforming the design industry, but the human eye is still the final judge of quality.
Discussion Question:
What is your biggest challenge when using AI tools? Is it coming up with prompts, or is it integrating the results into your usual software? Let me know in the comments below!
Related Articles:
Tutorials# AI design tips# AI graphic design tools# Canva AI workflow# ChatGPT for designers# graphic design automation# how to make a poster with AI# Midjourney tutorial# Top 10 AI tools
© Copyright notes
The copyright of the article belongs to the author, please do not reprint without permission.
Related posts


No comments...